|
|
|
|
|


I'm Online Chat Now
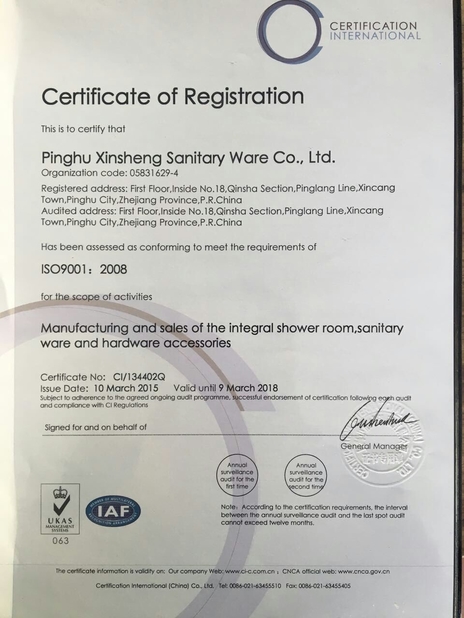
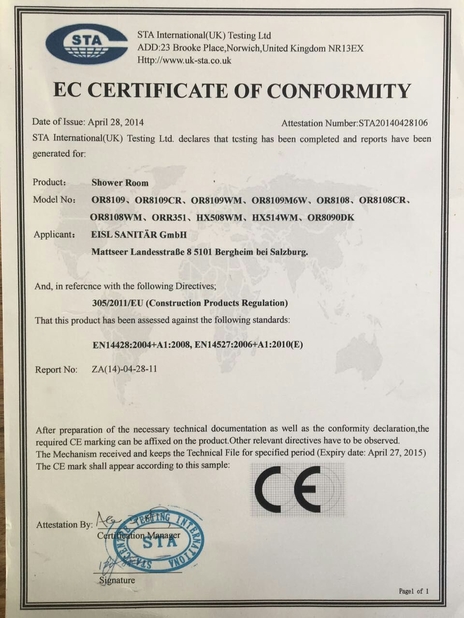
Certification
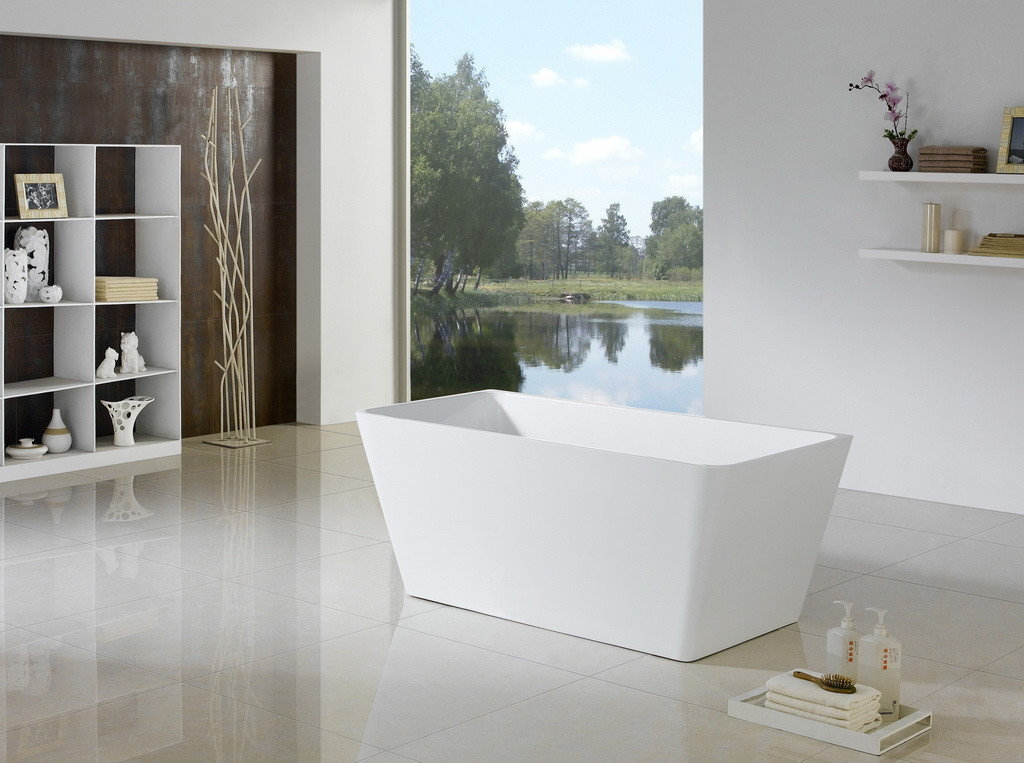
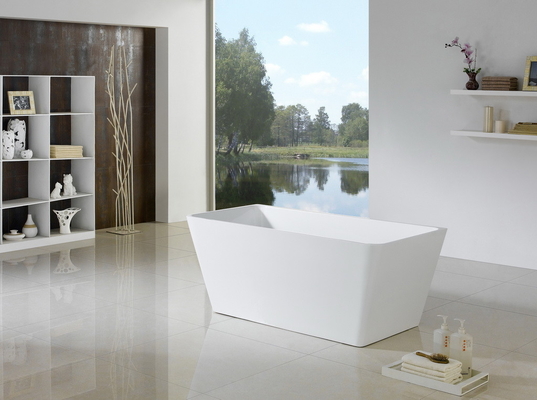
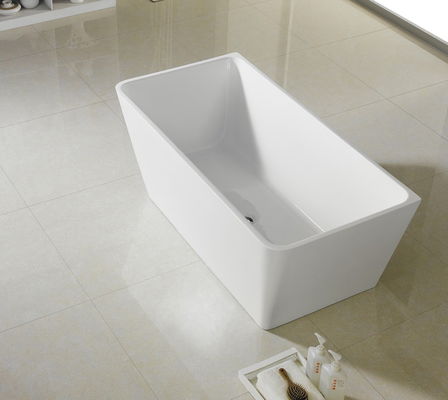
Short Narrow Free Standing Bathtub , Square Small Slipper Soaking Tub
|
Product Details:
Payment & Shipping Terms:
|

Detailed Product Description
| Product Name: | Freestanding Bathtub | Shape: | Distinct, Tapered Shape |
|---|---|---|---|
| Material: | Acrylic | Function: | Soaking Bathtub |
| Application: | Indoor Tub | Specification: | 1800x890x680mm |
| Highlight: | white freestanding bathtub,small freestanding tub |
||
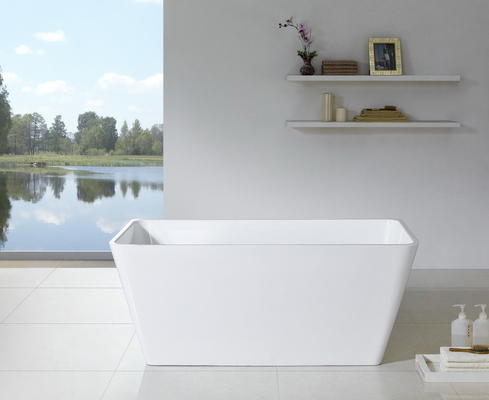
Square Shaped Acrylic Free Standing Bathtubs, Acrylic Slipper Tub
A distinct, tapered shape makes this bathtub a modern focal point for your master bath. This acrylic tub has gently sloping sides that encourage reclining at either end. Customize this tub to make it the ultimate bath by choosing from several options. Add the overflow feature for a luxuriously deep water level, the air bath feature to experience a pampering massage any time you wish, or select the insulation option to ensure consistently warm water, even when the temperature in your bathroom drops.
| Product Features | Acrylic bathtub with seamless joint with lacquer finish outside | ||
| Material |
|
||
| Surface finish | Gloss/Matt | ||
| Rim edge wide | 2.5cm | ||
| Overflow | can be with or no | ||
| maintenance | Easy cleaning and maintenance | ||
| OEM | arious stylish designs are available |
Freestanding Bathtub Installation:
Installation Preparation
When your bathtub unit arrives, ensure it’s the make and model you ordered, and confirm that all included accessories are accounted for. Use your hands along with your eyes to inspect the entire unit, checking for any cracks, chips, scratches, or other defects. If any are found, do not install the unit, but contact the manufacturer immediately.
Also inspect ancillary items shipped with the tub to ensure that they, too, are in good design and functional condition, and use this opportunity to re-tighten any parts that may have loosened during shipment. Be aware that you may need to purchase some plumbing supplies in addition to what’s provided by the manufacturer to complete the job.
If everything checks out, still continue to inspect the tub and plumbing systems throughout the installation, in case you catch something that was previously missed.
Floor preparation comes next. Depending on the type of existing flooring, this will mean minor to considerable demo work first, to accommodate the necessary P-trap and waste drains. After the floor drainage system has been installed, repair the floor, ensuring it’s level; then clean the floor thoroughly. You may choose to lay new flooring down at this time or place a section of water-resistant flooring down to surround the tub area.
Setting the Bathtub
Have ready all the tools and supplies needed for the job and follow the step-by-step directions provided with your unit. If at any point it seems time for the professionals to step in, do not hesitate to avail yourself of their expertise–your bathtub and your house will thank you.
After the Installation
Do not use your new tub for at least 24 hours after the installation. Immediately address leaks or other problems, should they arise. Closely adhere to the manufacturer’s cleaning instructions to maintain the beautiful luster on your new freestanding bathtub for years to come. And most importantly: enjoy your new bathtub.
Contact Details
Zhejiang Xinsheng Sanitary Ware Co.,Ltd
Contact Person: Miss. Jessie
Tel: (0086)-13516728542
Send your inquiry directly to us
More Free Standing Bathtub
-
Docking Cylinder Free Standing Bathtub Small Bathroom , Luxury Massage Bathtub
-
2 Person Free Standing Soaking Tubs For Small Spaces 1700x800x580mm
-
Smooth Round Free Standing Bath Tubs For Small Spaces Durable Classic
-
Comfortable Acrylic Insulated Freestanding Bathtubs 1700mm Durable Classic
-
4 Foot Short Free Standing Bathtub , White Narrow Oval Freestanding Tub
-
White Wide Free Standing Bathtub , Rectangular Freestanding Soaking Tub